You’ll transform your child’s independence by positioning shelves at eye level and arranging materials left to right by skill progression. Use clear labels with pictures so your child can easily locate, select, and return items without asking for help. Designate quiet and active zones to support focused learning. Rotate materials every few weeks to maintain engagement while preventing overwhelm. Start with just six to eight purposeful activities that match your child’s developmental stage. The strategies ahead reveal how each element works together.
Start With Low, Open Shelves at Child Eye Level
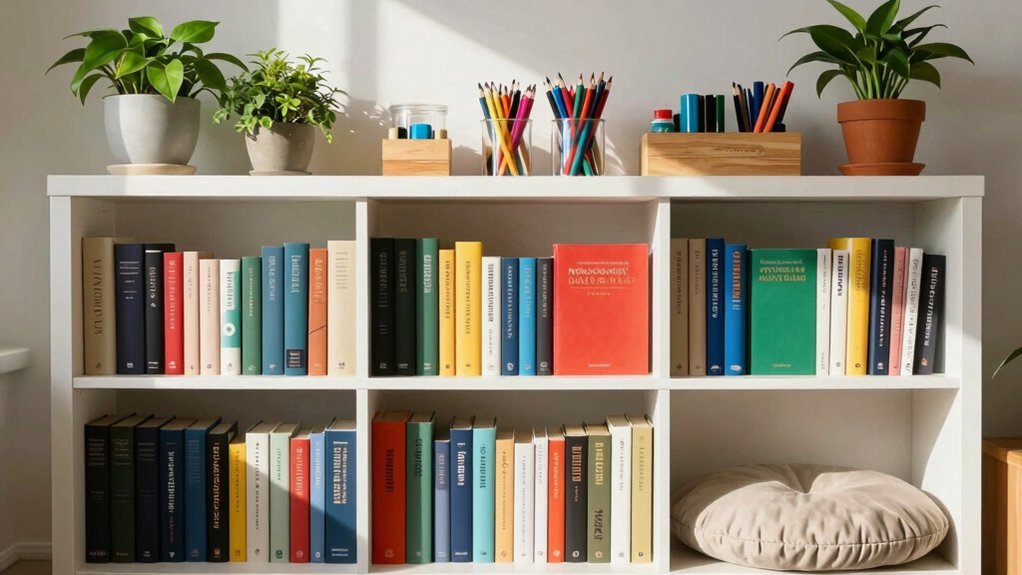
Why do children thrive when they can reach their own materials? When you position low, open shelves at your child’s eye level, you’re removing barriers to independence. Your child can select books and activities without waiting for adult assistance, which builds confidence and autonomy.
Open shelving displays items clearly, making exploration feel natural and inviting. Front-facing book covers spark curiosity, turning reading into a routine your child initiates themselves. This accessibility transforms learning from something directed by adults into self-motivated discovery.
You’ll also notice your child develops responsibility faster. When materials live at their level in designated spots, they learn where things belong and return items naturally. Low, open shelves don’t just organize space—they empower your child to take ownership of their learning environment. Frequent interaction with books strengthens your child’s literacy skills over time, making these accessible shelves an investment in long-term reading development.
Organize Materials by Skill Area, Left to Right
You’ll arrange your skill areas intentionally across the shelf, placing foundational skills on the left and progressing toward more complex challenges on the right. This left-to-right layout mirrors natural reading patterns and creates a logical learning sequence that children can navigate independently. By organizing this way, you’re scaffolding their development while teaching them how materials flow in a meaningful order. When your child’s workload or learning needs shift, adjust the shelf arrangement to reflect their current priorities and evolving skill levels.
Arranging Skill Areas Purposefully
How does a well-organized shelf guide students toward independence? Strategic arrangement of skill areas creates a logical learning pathway that mirrors how students naturally work through tasks.
You’ll want to arrange materials from left to right in progression, moving from foundational skills to more complex applications. This layout reduces cognitive load during independent work sessions, allowing students to focus on task completion rather than searching for materials. Consider using a master task list to track which students have achieved mastery at each skill level, enabling you to strategically place appropriate challenges within their reach.
By organizing skill areas purposefully, you enable rapid task identification and selection during rotations. Students understand relationships between materials and learning objectives without confusion. When frequently used items sit in accessible locations, students complete tasks efficiently and maintain momentum throughout independent work periods.
This intentional structure transforms your shelving into a self-guided learning system.
Following Left-to-Right Progression
When you arrange materials from left to right across shelves, you’re mirroring the reading and writing conventions that students already encounter in books and written language. This alignment supports natural learning progression and reinforces directional habits essential for literacy.
Organize your shelves using these principles:
- Position simplest materials on the top shelf’s far left
- Increase complexity as you move right and downward
- Place most advanced tasks on the bottom shelf’s far right
- Label bins with task schedules to guide independent selection
This strategic arrangement helps students visually understand skill-building sequences. You’ll notice children naturally gravitate toward appropriate challenges when materials follow this progression. The visible hierarchy motivates learners to advance through skill levels independently, fostering confidence and self-directed growth without constant teacher direction. When shelves reflect intentional decision-making, every placement becomes an opportunity to support the child’s developmental readiness and cognitive habits.
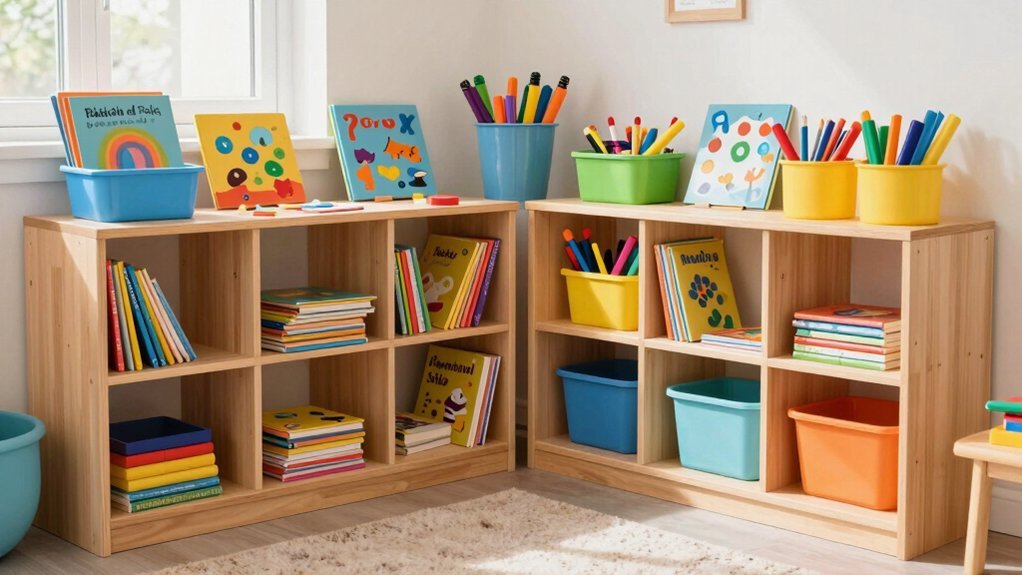
Label and Store Materials in Clear Containers

You’ll want to use picture labels for young learners who can’t yet read printed text, pairing images with written words to build literacy skills. Color-coding your learning areas—using consistent hues for math, literacy, science, and other subjects—helps students quickly locate materials and return them to the correct spots. Implementing consistent naming conventions across your container labels ensures that the organizational system remains clear and reusable as your learning materials evolve. Together, these strategies create a visual organization system that supports independent learning without requiring constant adult guidance.
Picture Labels For Young Learners
Why do young learners struggle to locate materials independently? Without visual supports, they can’t identify what’s inside containers or where items belong. Picture labels solve this problem by creating clear navigation systems.
You’ll enhance learning outcomes by implementing these strategies:
- Use large, salient labels that guide attention to relevant materials
- Pair picture labels with clear containers for immediate visibility
- Position labels near images following spatial contiguity principles
- Combine labels with visual schedules for transition management
Picture labels reduce cognitive load and enable self-reliant task completion. Young learners can find tools without adult assistance, promoting proactive problem-solving. Research shows labeled environments significantly improve retention and quiz performance compared to unlabeled alternatives. However, minimize static labels that might inadvertently limit students’ sense of identity or potential within learning spaces. You’re essentially scaffolding independence while supporting metacognitive strategy development.
Color-Coding By Learning Area
How do students navigate multiple learning centers without getting lost in a sea of unmarked bins? Color-coding by learning area creates visual pathways that guide independent learners effortlessly.
You’ll designate specific colors for each subject—blue for math, red for reading, yellow for writing. This consistent color system extends across your shelving, folders, and storage containers, eliminating confusion at transitions.
Implement color-coded bins organized by activity type on rolling carts or stationary shelves. Label each bin clearly with both the color and subject name. Hang coordinating color signs from your ceiling for quick station identification. Consistent color cues across your classroom displays help students recall which materials belong to each learning area and reinforce the organizational system through repeated visual associations.
You’ll also color-code student folders, pencil boxes, and turn-in baskets to match their assigned learning areas. When materials align with your color system, students grab what they need independently, reducing classroom disruptions and boosting confidence in their learning journey.
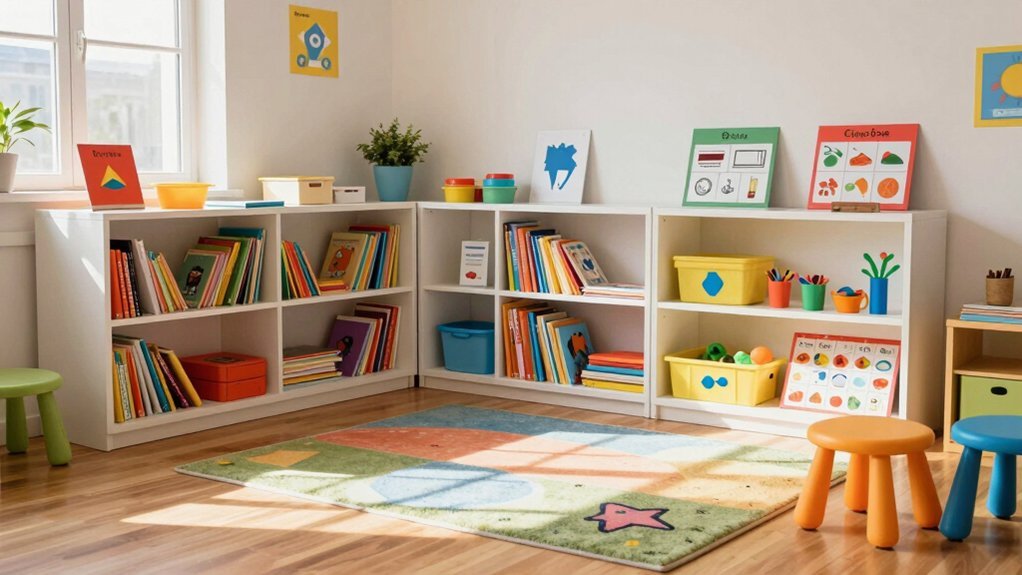
Create Quiet and Active Play Zones
When organizing shelving for independent learning, designating distinct zones for quiet focus and active engagement transforms how children interact with materials.
You’ll benefit from establishing separate spaces that match different activity levels:
- Quiet zones with soft seating and calm-colored shelving for reading and concentration activities
- Active zones featuring varied equipment and complex play elements that stimulate diverse skills
- Nature-integrated areas with natural materials like rocks and plants that encourage imaginative exploration
- Age-specific sections blending education with play through developmentally appropriate materials
This strategic separation reduces distractions and promotes sustained engagement. Studies demonstrate that active play improves mental health, emotions handling, and social skills in children, making engagement quality particularly important in learning spaces.
Research shows that innovative, well-designed spaces attract considerably more users and generate substantially more physical activity.
Teach Children to Return Materials to Shelves
Beyond creating inviting spaces for discovery, you’ll want to establish systems that help children maintain those carefully organized shelves. Start by training upper elementary students for basic shelving tasks, allowing 4th and 5th graders to shelve familiar series independently. You can implement visual labeling systems using colorful stickers and book bins that guide children toward correct placement. Position clear dividers and markers throughout shelves to distinguish sections. Encourage students to reshelve their own books after quick check-ins, maintaining responsibility for borrowed materials. Supervise this process initially to ensure accuracy. Gamify the experience through sorting games and competitions, rewarding correct shelving with points or privileges. Recognize classes that consistently return materials on time with special incentives, reinforcing positive habits throughout the school year. Presorting books on carts before shelving enables quick cycles of checking in and returning, which students can replicate by organizing materials into category piles before placing them on shelves.
Rotate Learning Materials Every Few Weeks
Why do children lose interest in the same materials week after week? Rotating your learning materials every few weeks reignites curiosity and sustains engagement through novel stimuli.
You’ll want to implement rotation strategically:
- Rotate 1-2 items weekly to minimize stress while maintaining momentum
- Observe mastery and interest shifts to adjust frequency based on your children’s needs
- Introduce new items gradually alongside familiar ones to ease transitions
- Use timers with station models to announce smooth material changes
This paced approach prevents frustration by matching challenges to current abilities. You’ll notice children develop stronger observation and classification skills while building self-esteem through mastery. Biweekly changes spark curiosity without overwhelming your learners, creating a dynamic environment that fosters independent thinking and resilience. Pairing material rotations with multiple learning stations within a single class period allows students to engage with varied content while maintaining structured, differentiated pathways that support diverse learning needs.
Limit Items to What Fits the Developmental Stage
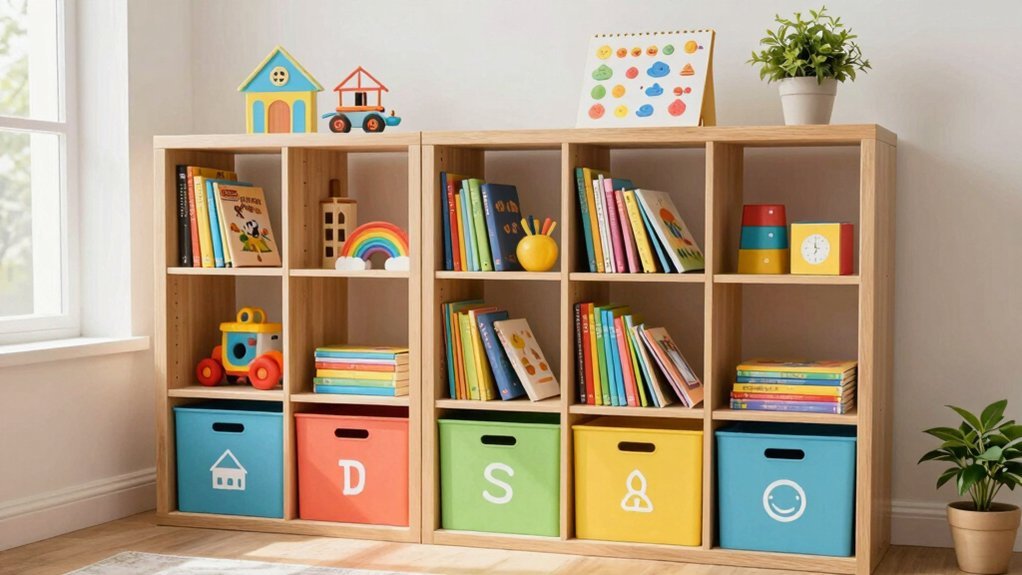
How do you know which materials truly serve your child’s learning right now? You match what’s on the shelf to where they’re developmentally. Infants need low, sturdy shelves with simple sensory items that support gross motor skills. School-age children benefit from taller shelves organized by category—language, math, practical life—as their cognitive abilities expand.
Start with 6–8 purposeful activities rather than overwhelming your child with choices. This limited selection prevents overstimulation and encourages deeper concentration on each material. Balance familiar favorites with new challenges to maintain motivation without frustration. When children can see and access materials at eye level, they develop a sense of ownership that naturally motivates them to care for their learning space.
Arrange items by skill level, using baskets or trays to keep categories visually distinct. Clear labels with words or pictures support vocabulary development and independence. Your child can then confidently select activities appropriate for their current abilities, fostering ownership over their learning space.
Frequently Asked Questions
How Often Should I Clean and Maintain the Shelving System?
You should dust your storage shelves weekly and conduct fastener checks monthly. You’ll also need to inspect hinges and locks quarterly, starting with monthly checks to ensure your shelving system remains safe and functional.
What’s the Best Way to Handle Overflow Materials That Don’t Fit on Shelves?
You’ll best handle overflow materials by implementing high-density mobile shelving or offsite storage facilities. You can maximize your current space by 50%, consolidate collections efficiently, and you’ll free up valuable floor area for programming and collaborative workspaces.
How Can I Involve Multiple Children in Organizing Shared Project Materials?
You’ll assign children specific roles—one organizes containers, another labels bins, a third arranges materials by project type. You’ll rotate responsibilities weekly, building ownership while they’re creating an accessible system together.
Which Storage Containers Work Best for Young Children to Open Independently?
You’ll find that low-sided containers with lightweight, child-transportable designs work best. Choose transparent options so children can see contents easily, and add labeled lids that aren’t too tight—they’re manageable for small hands.
How Do I Know When It’s Time to Rotate Out Learning Materials?
You’ll know it’s time to rotate when you notice children losing interest, moving through materials chaotically, or engaging in less purposeful play. Watch for decreased time at stations and diminished excitement—that’s your signal to refresh.
In Summary
You’ve now got the tools to create a shelving system that truly supports your child’s independent learning. By keeping materials accessible, organized, and rotating them regularly, you’re encouraging curiosity and self-directed exploration. Your thoughtful setup teaches responsibility while building confidence. You’ll notice your child naturally gravitates toward learning when everything’s within reach and clearly labeled. This organized approach transforms simple shelves into a powerful learning environment.

Leave a Reply