
You can boost reading and math at home by turning everyday items into multisensory tools that let kids see, hear, and touch concepts simultaneously. Use notecards with letter stickers they tap while saying sounds, magnetic letters on a mat to build words, and dry‑erase boards for quick picture‑word links. Add textured sandpaper letters, colored beads for counting, and clip‑card story sticks for storytelling. Organize everything in labeled bins for easy access, and track progress with a simple activity log and color‑coded chart. Keep exploring for more ideas.
Understanding Multisensory Learning in Plain English
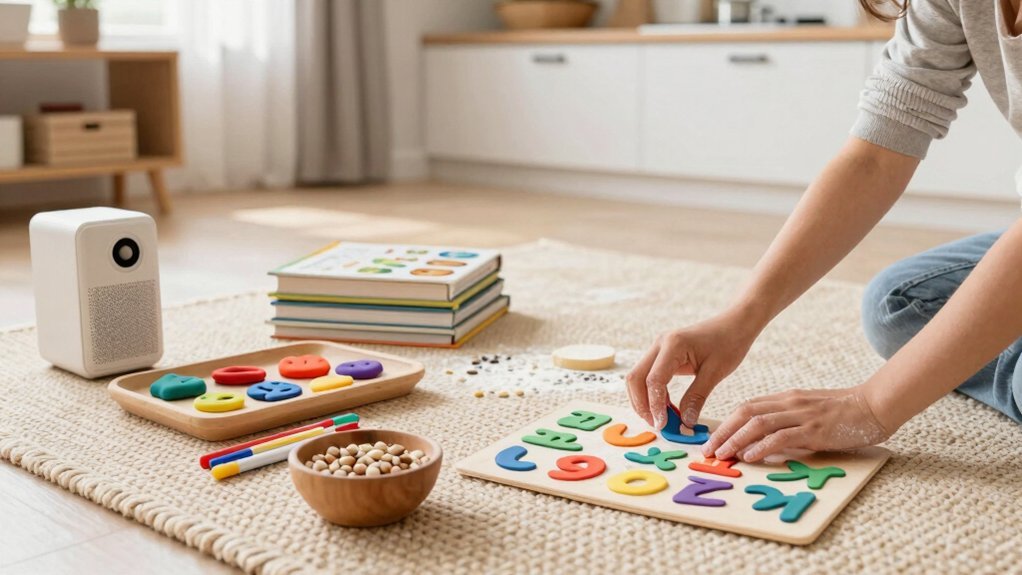
Multisensory learning means you tap sight, hearing, touch, and movement all at once, turning abstract letters and sounds into concrete experiences. You see a colorful letter, hear its sound, feel it on a magnetic board, and move your hand to place it—each sense reinforces the next, building stronger neural pathways. This approach boosts memory, comprehension, and decoding because your brain links visual cues with tactile feedback and auditory patterns.
You can use low‑cost tools like notecards, dry‑erase boards, or textured surfaces to segment phonemes and practice letter‑sound relationships. The method works for kindergarten through fifth grade, encouraging hands‑on collaboration and kinesthetic engagement that keeps learners focused and retains literacy skills longer. Incorporating materials with linen-like textures can enhance tactile experiences, making multisensory activities more engaging and effective.
Set Up a Multisensory Learning Station at Home
Where do you start when turning a corner of a room into a dynamic learning hub? First, gather tangible tools—flashcards, magnetic letters, a dry‑erase board, and color‑coded markers—to support phonics, word work, and math. Store them in clearly labeled bins or a central bin system alongside clip cards, craft sticks, beads, and base‑ten manipulatives for quick access. Add visual‑tactile elements like sandpaper letters and color‑coded visuals to reinforce letter‑sound relationships.
Set up a rotating collection of low‑cost, ready‑to‑use activities from multisensory resource guides, such as a printable cheat sheet of 35 ideas, to keep the station fresh for Kindergarten through Fifth Grade. Use the station for hands‑on tasks: syllable division with notecards, place‑values practice with color blocks, and multiplication visualization with grids or stickers. This layout creates a focused, multisensory learning environment that encourages independent exploration. Incorporating open-ended building sets into your station can enhance problem-solving skills and spatial reasoning through creative STEM play.
Five Hands‑On Activities That Combine Sight, Sound, and Touch

After setting up your multisensory station, you can turn those tools into dynamic lessons that engage sight, sound, and touch simultaneously. First, use flashcards that separate syllables, basewords, and suffixes; let your child place each phoneme on its own card, then read the word aloud to hear the combined sound. Second, give notecards with stickers that represent letters; have them tap the stickers while saying the corresponding sound. Third, spread a magnetic spelling mat, let them arrange magnetic letters into words, and read the result together. Fourth, write vocabulary on a dry‑erase board, draw a quick picture, then cover the word and ask them to recall its meaning by sound alone. Finally, use clip cards or story sticks, letting them manipulate the pieces while narrating the story, reinforcing multisensory literacy. To support independence during these activities, a Montessori step stool with safety features can help children comfortably reach tables or counters.
Multisensory Learning: Repurpose Household Items
Ever wondered how everyday objects can become powerful teaching tools? You can turn a balloon into a kinetic word‑card by writing sight words on it, then toss it and say the word aloud—this combines sight, sound, and movement for multisensory learning.
Turn balloons into kinetic word‑cards: write, toss, and say aloud for multisensory sight‑sound‑movement learning.
Spread a thin layer of mud on a tray, give your child a stick, and let them trace spelling words; the tactile feedback solidifies letter‑sound links.
Turn the kitchen into a phonics lab: hide alphabet cards among spices, then ask your child to find ingredients that start with a given letter, reinforcing sounds with real‑world context.
These low‑cost, hands‑on activities keep kids engaged, boost memory retention, and make literacy practice feel like play.
Simple Ways to Track Progress in Multisensory Lessons
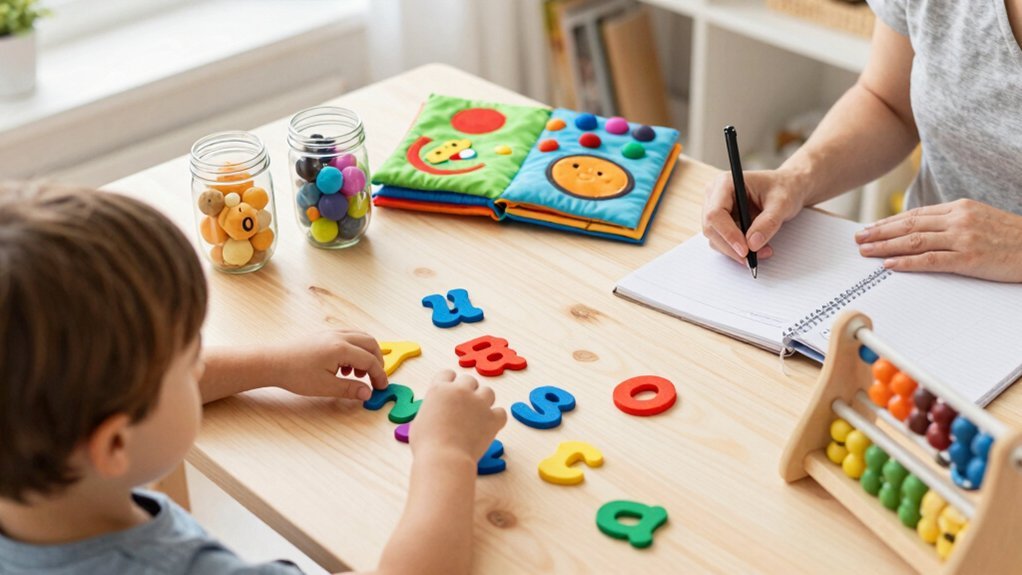
How can you tell if a multisensory activity is actually helping your child learn? Keep a simple log that notes the activity, date, and a brief reflection like “knew cat after spinning the word.” Count mastery goals—syllables segmented correctly, sight words recalled—and set a clear start and target date. Add quick pre‑ and post‑quick assessments (1–3 minutes) to gauge gains in phoneme segmentation or letter‑sound fluency. Build a color‑coded visual chart that maps each activity to a skill (phonics, vocabulary, decoding) and marks completed sessions. Record informal observations on engagement, persistence, and the use of tactile or visual cues that sparked breakthroughs. These habits give you concrete data to adjust and celebrate progress in multisensory learning.
Frequently Asked Questions
How Can I Adapt Activities for a Child With Visual Impairments?
You’ll use tactile, auditory, and olfactory cues: describe textures, play sound‑rich recordings, incorporate scented materials, and give clear verbal instructions while letting the child explore objects hands‑on.
What Age Is Is Each Multisensory Activity Appropriate?
You’ll find ages vary: tactile blocks suit 2‑4, sensory bins work 3‑5, scent‑matching fits 4‑6, sound‑storytelling engages 5‑7, and texture‑art thrives 6‑8, adjusting difficulty as needed.
Can I Integrate Technology Without Losing Tactile Benefits?
Yes, you can blend tech and touch by pairing digital prompts with hands‑on kits, using interactive apps that guide physical experiments, and keeping screen time short while emphasizing tactile exploration throughout.
How Do I Handle Sensory Overload During Lessons?
You should pause, dim lights, reduce background noise, and simplify tasks. Use one sense at a time, give clear cues, and let the child breathe before resuming. Adjust pace and break often.
What Are Low‑Cost Alternatives to Commercial Manipulatives?
You can use everyday items like bottle caps, dried beans, or cardboard dice; repurpose old cereal boxes for sorting trays, and craft counting sticks from paper rolls, keeping costs minimal while staying engaging.