
Set up a shallow tray with labeled containers, child‑size measuring cups, spoons, and bowls, then add textured foods like crunchy crackers, smooth yogurt, and squishy dough. Use colored pasta or dyed spaghetti for visual cues, and place simple step‑by‑step instructions nearby. Let kids scoop, stir, and weigh ingredients, encouraging them to predict and compare measurements while a timer shows elapsed time. Sprinkle in tiny science experiments—like watching dough rise—to spark curiosity, and you’ll discover even more ideas as you keep exploring.
Why Montessori Values Multi‑Sensory Kitchen Play
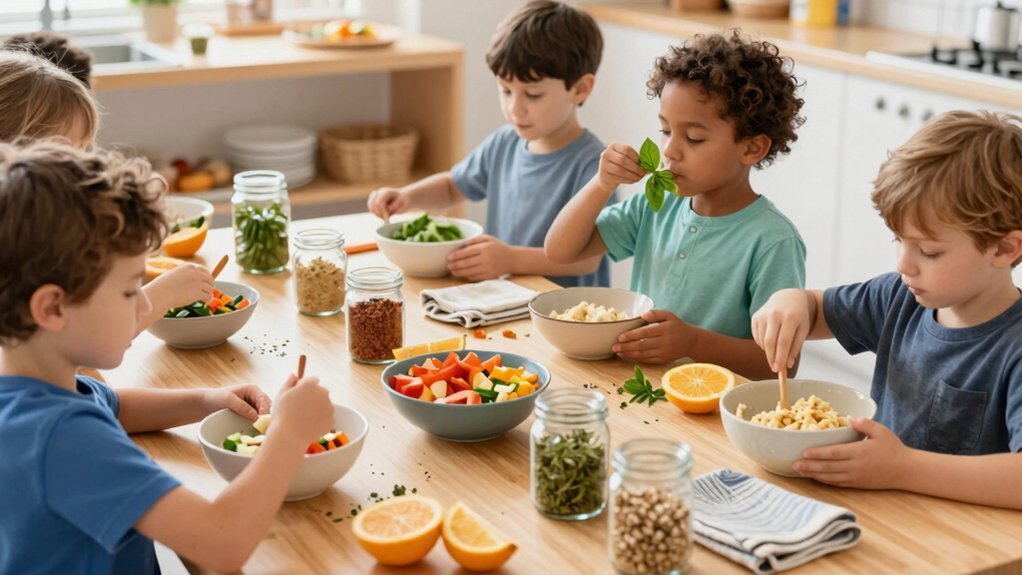
Why do you see Montessori children thriving in the kitchen? You watch them measure, pour, and mix, and you realize sensory play is the engine behind their focus. Montessori’s hands‑on approach gives them child‑sized tools and safe spaces, turning everyday cooking into concrete learning. Each texture, scent, and color sparks curiosity, letting them self‑correct and solve problems without adult prompting.
The sequential steps—grasping a spoon, scooping flour, feeling dough—embed language, math, and science naturally. By engaging multiple senses, they build practical life skills and independence, turning frustration into mastery. This intentional, multi‑sensory environment aligns perfectly with Montessori’s belief that real‑life practice nurtures intrinsic motivation and lasting competence. Incorporating adjustable height ranges in children’s workspaces can further enhance comfort and engagement during these activities.
Set Up a Multi‑Sensory Kitchen Station Quickly
How can you create a ready‑to‑go sensory kitchen in minutes? Grab a shallow tray and line it with labeled containers for flour, salt, water, and oil. Add child‑size measuring cups, spoons, and bowls, then sprinkle in textures like crunchy crackers, smooth yogurt, and squishy dough. Use colored pasta or dyed spaghetti to give visual cues, and keep everything portable so you can swap items quickly. Place short, clear instructions on the side and include reflective prompts that spark language development. By keeping the setup minimal and organized, you enable fast transitions between activities while supporting sensory learning. The station stays tidy, easy to refill, and invites kids to explore taste, touch, and sight without fuss. Incorporating counting tools, like a Wooden Abacus, can further enrich sensory and math skill development.
Select Kid‑Sized Tools for Independent Cooking
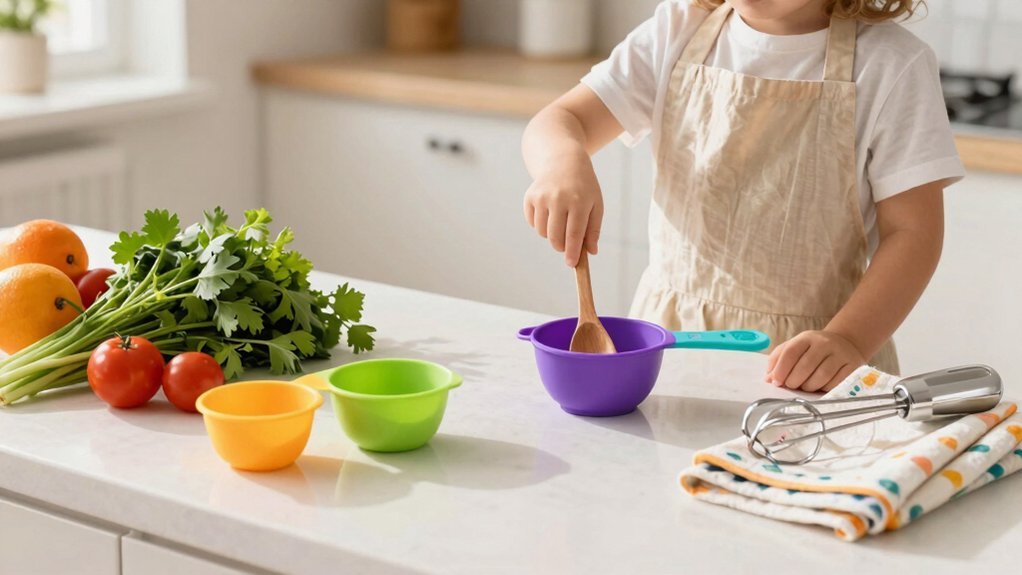
You’ll want safe‑size utensils with easy‑grip handles so kids can slice, stir, and pour without strain.
Simple measuring tools let them see quantities clearly, building confidence in following recipes.
Choosing tools made from food-grade materials ensures safety and durability during kitchen activities.
Safe‑Size Utensils
Ever wondered how a kid‑sized spatula or mini whisk can turn a kitchen into a confidence‑boosting playground? When you choose kid‑safe utensils, you give children the grip and control they need for independent cooking. Pick lightweight, ergonomically shaped tools that fit tiny hands—small spatulas, kid‑safe knives, and mini whisks with blunt edges and padded handles. Test each for balance, smooth edges, and non‑slip grips before handing them over. Label and store them within reach so kids can grab them and start mixing, chopping, or pouring without hesitation. Using a Montessori-friendly step stool can also help children independently reach counters safely while engaging in cooking activities.
| Tool | Feature |
|---|---|
| Mini whisk | Soft, padded grip |
| Kid‑safe knife | Blunt edge, balanced weight |
| Small spatula | Ergonomic handle, lightweight |
Easy‑Grip Handles
Why settle for slippery, hard‑to‑hold utensils when a child can confidently stir, peel, and slice with easy‑grip handles? Choose kid‑sized tools that fit tiny hands, featuring wide, non‑slip grips and lightweight bodies. A small chef knife with a blunt blade, a silicone spatula, and a kid‑safe peeler give tactile feedback, turning each motion into a sensory experience that strengthens fine motor skills. Look for textured or cushioned handles—these give a reassuring feel and prevent fatigue during chopping or stirring. Color‑coded, intuitive designs help your child pick the right tool without hesitation. Finally, inspect handles regularly for wear, secure rivets, and smooth edges to keep the kitchen safe and the grip reliable. Many child-safe kitchen tools also include non-slip handles to reduce slipping and promote safer use.
Simple Measuring Tools
A set of kid‑sized measuring cups, teaspoons, tablespoons, and a lightweight scale turns everyday cooking into a hands‑on math lesson. You pick tools that fit small hands, with bold, clear markings so kids can see numbers and units at a glance. When they level off flour or scoop milk, they hear the soft clink of plastic, feel the weight of the cup, and see the amount rise on the scale—perfect for multisensory learning.
You model how to compare “more,” “less,” and “equal,” then let them repeat the process independently.
Choose BPA‑free, lightweight plastic so they’re safe and confident.
Guide Kids in Measuring and Mixing for Math Skills
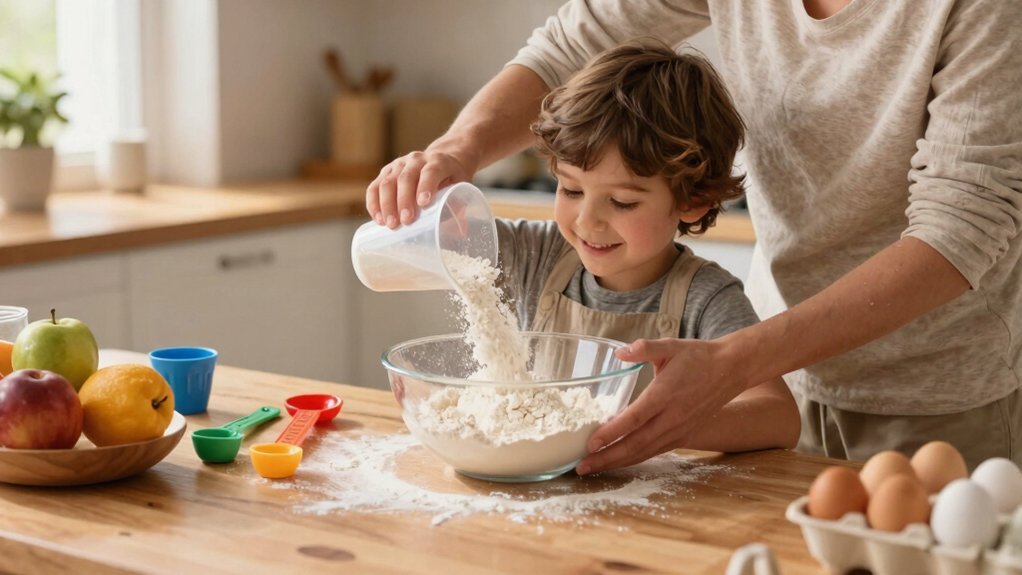
How can you turn a simple cooking session into a hands‑on math lesson? Invite kids to measure flour, sugar, and milk using cups and spoons, letting them see how half, quarter, and third portions add up.
Turn kitchen measuring into a fun, hands‑on math lesson with cups, spoons, and real‑world fractions.
Ask them to predict the weight of a handful of raisins, then verify with a kitchen scale, reinforcing estimation and data collection.
While you stir, set a timer for 30 seconds, then another for 60, highlighting sequencing and elapsed time.
Have them record each measurement on a chart, noting actual versus expected volumes.
Over several recipes, compare their notes, draw simple bar graphs, and discuss patterns.
This routine turns everyday cooking into a concrete, repeatable math experience.
For added practical skills, you can also introduce kids to using a 3-in-1 washing tub station to safely prepare and wash vegetables before cooking.
Turn Simple Recipes Into Tiny Science Experiments
Curiosity sparks when you turn a familiar recipe into a mini‑lab, letting kids form a hypothesis—like whether chilled dough rises faster than room‑temperature dough—then test it by measuring temperature, timing the rise, and noting texture changes. You can turn a simple pancake batter into a sensory experiment by varying ingredient ratios, then record the aroma, color, and fluffiness after each flip. Pose guided questions: “What happens when you add salt to boiling water?” or “How does boiling time affect spaghetti texture?” Have children log temperatures, minutes, and observable shifts, reinforcing cause‑and‑effect. Sequence steps, measure amounts, and observe how prep speed influences results, turning everyday cooking into a hands‑on science adventure that sharpens observation and analytical skills. Incorporating multi-sensory musical instruments alongside kitchen activities can further engage children’s fine motor skills and sensory awareness during learning.
Teach Reading With Kid‑Friendly Recipes and Vocabulary
You’ll see how simple recipe steps turn everyday cooking into a vocabulary adventure, letting you practice words like mix, whisk, and stir in context. By reading the directions aloud, you reinforce sequencing skills and build confidence in decoding instructions. Then, describing the colors, smells, and textures of each ingredient strengthens both comprehension and expressive language.
Vocabulary Vocabulary Exploration
Exploring culinary vocabulary turns a simple recipe into a lively reading adventure, letting kids spot words like mix, whisk, and stir while they follow each step. You’ll guide them through sensory exploration, pointing out how a bright orange carrot looks, a sweet vanilla scent drifts, a smooth batter feels, and a tangy lemon tastes.
As they read, ask them to underline each action verb and then match it to the real‑world motion—lifting a whisk, stirring a spoon, or combining ingredients. This concrete pairing deepens comprehension and builds a richer descriptive language.
Encourage them to predict what’ll happen next, then check the outcome, reinforcing sequencing and predictive thinking while expanding their culinary lexicon.
Recipe Reading Skills
After spotting action verbs and matching them to real‑world motions, children can move on to reading whole recipes. You’ll notice they decode each step, recognize sequence words, and follow directions to finish a dish. Repeating the same recipe builds comprehension and familiarizes them with terms like mix, whisk, and fold. The text also introduces fresh vocabulary, letting kids describe ingredients, textures, and actions. After reading, they can write descriptive notes about appearance, scent, texture, and taste, turning the recipe into a language exercise.
- Predict the next step before reading it.
- Ask “what if” questions to spark inference.
- Highlight and discuss unfamiliar words.
- Encourage kids to rewrite a step using synonyms.
Integrate Art and Math Through Colorful Cooking
When you blend bright sauces, drizzle colored glazes, and sprinkle textured crumbs, you turn a simple recipe into a living canvas where color theory meets measurement. You’ll guide students to mix primary food‑color drops, watching secondary hues emerge, then ask them to divide a cup of batter into thirds, reinforcing fractions while they stir.
By arranging diced carrots, purple grapes, and golden corn into geometric patterns, they compare sizes, shapes, and quantities, sharpening fine motor skills as they place each piece precisely.
Sequencing steps—adding a splash, folding in a swirl, topping with a sprinkle—mirrors mathematical patterns and cultural stories behind the dish. This dual focus makes art and math tastefully tangible.
Boost Fine‑Motor Skills With Kneading, Whisking, Rolling
Kneading, whisking, and rolling give kids a hands‑on workout that sharpens hand strength, finger dexterity, and arm coordination. You’ll see them transform sticky dough into smooth ribbons, feel wrist rotation while whisking air into batter, and sense the pressure needed to flatten dough evenly. The sensory experience ties visual cues—like texture changes and uniform thickness—to proprioceptive feedback, so each movement feels purposeful and rewarding.
- Use child‑size tools to cut grip fatigue and boost precision.
- Encourage rhythmic whisking to develop forearm endurance.
- Guide rolling pin pressure for consistent thickness and arm stability.
- Highlight visual checkpoints to reinforce proprioceptive learning.
Keep Kitchen Fun, Easy to Clean, and Reusable
Ever wondered how a kitchen can stay fun while staying mess‑free? You can keep kids engaged by using washable utensils, silicone mats, and covered work surfaces that trap spills before they spread.
Kids thrive in a mess‑free kitchen with washable utensils, silicone mats, and covered surfaces that trap spills instantly.
Choose reusable gear—cloth aprons, silicone bags, metal bowls—so each session builds on the last without creating waste.
Stock child‑size, durable tools like tiny spatulas, plastic knives, and mini rolling pins; they empower independence and wipe down quickly.
Design short, repeatable steps and set up stations with colorful textures, smelling jars, and safe mixing to make transitions smooth.
Label everything and store it in clear, reusable containers, so setup is a breeze and kids can dive right back into the next sensory adventure.
Frequently Asked Questions
What Are Some Multi-Sensory Activities?
You can make rainbow spaghetti, scented herb jars, textured playdough, crunchy‑smooth snack combos, and ice‑cream‑in‑a‑bag, letting kids pull, squish, smell, bite, and shake to explore color, texture, scent, and temperature.
What Are Some Messy Food Play Ideas?
You can splash pudding on trays, squish mashed potatoes with fingers, roll dough into sticky snakes, drizzle chocolate sauce on paper, and toss fruit‑juice splashes onto a canvas, letting textures, colors, and smells spark endless giggles.
What Are the 5 Senses Messy Play?
You’ll engage sight with bright foods, hearing with crinkling bags, touch with squishy dough, smell with scented spices, and taste with sweet or sour bites, letting kids explore each sense through messy play.
What Are Some Fun 5 Senses Activities?
You’ll love making rainbow spaghetti, scented herb jars, crunchy‑smooth food pairings, textured playdough, and ice‑cream‑in‑a‑bag; each sparks sight, smell, touch, taste, and sound while you describe and explore.