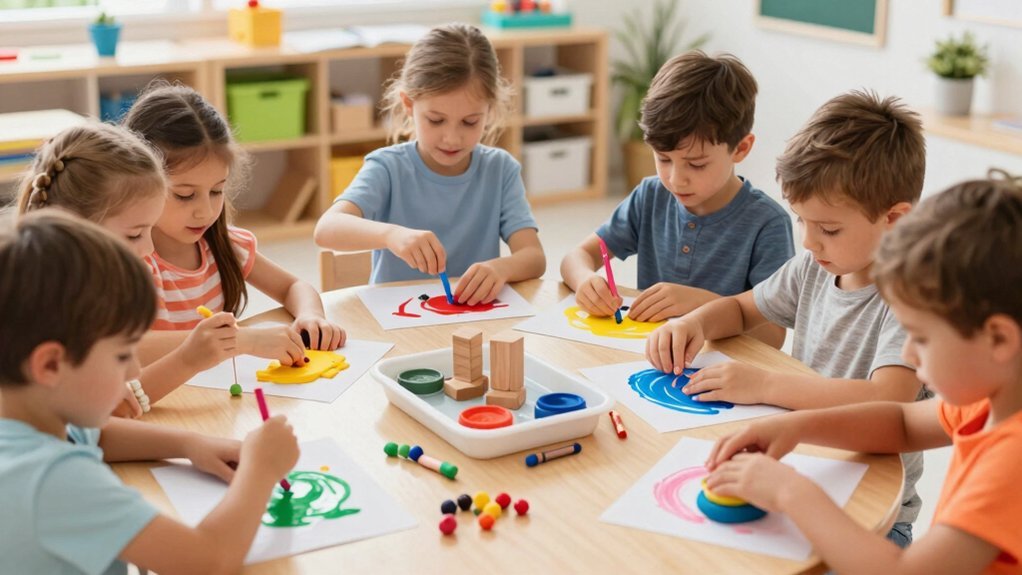
Start by tracing basic shapes with crayons or your finger on a laminated sheet to build hand control and spatial awareness. Use play‑dough to sculpt letters, strengthening pincer grasp and fine‑motor muscles. Connect Q‑Tip dots to improve precision and hand‑eye coordination. Try bead lacing and clothespin games for bilateral strength and grip. Create sensory letters in sand, shaving cream, or finger‑paint for tactile feedback. Form simple letters with mini marshmallows and toothpicks, then trace letters on fabric or skin for whole‑body movement practice, and you’ll discover even more effective activities.
How to Trace Basic Shapes With Crayons or Fingers
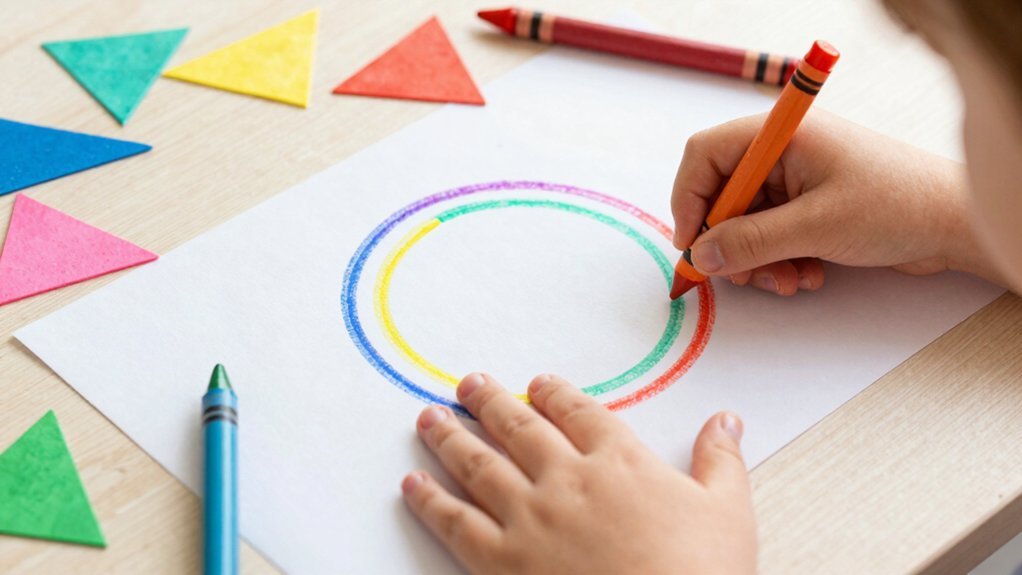
Tracing basic shapes with crayons or your fingers is a quick, mess‑free way to build the hand control and spatial awareness needed for writing. You’ll start with straight lines, curves, zigzags and circles, using a laminated sheet so a dry‑erase marker or crayon can be erased and tried again instantly. This fine motor practice creates repeatable motions that translate into pre‑writing strokes, boosting handwriting readiness. As you repeat each shape, you sharpen spatial awareness, noticing how far your hand moves and how much pressure you apply. Gradually increase complexity—add angled lines or combined shapes—to challenge your coordination without overwhelming you. Consistent tracing establishes the early writing foundation that supports later letter formation. Providing children with an environment that supports independence, such as using a Montessori step stool, can further enhance their fine motor skills and confidence during these activities.
Strengthen Finger Muscles Using Play‑Dough Letter Sculpting
After you’ve built basic line control with crayons, grab some play‑dough and start shaping letters. Roll a thick snake, then pinch and flatten it into a “C” or “S,” feeling the dough’s resistance as you work. This tactile exercise boosts fine motor skills and hand strength while you practice letter formation. Begin with large, easy shapes, then shrink the dough pieces to challenge your pincer grasp. Compare your sculpted letters to printed outlines; the visual match reinforces recognition and pre‑writing awareness. As you knead, roll, and sculpt, you engage multisensory learning, linking touch, sight, and movement. Repeating this routine daily builds the coordination needed for confident handwriting. Incorporating natural materials like 100% New Zealand wool felt balls can further enhance sensory experiences in early literacy activities.
Improve Precision With Q‑Tip Dot‑To‑Dot Strokes
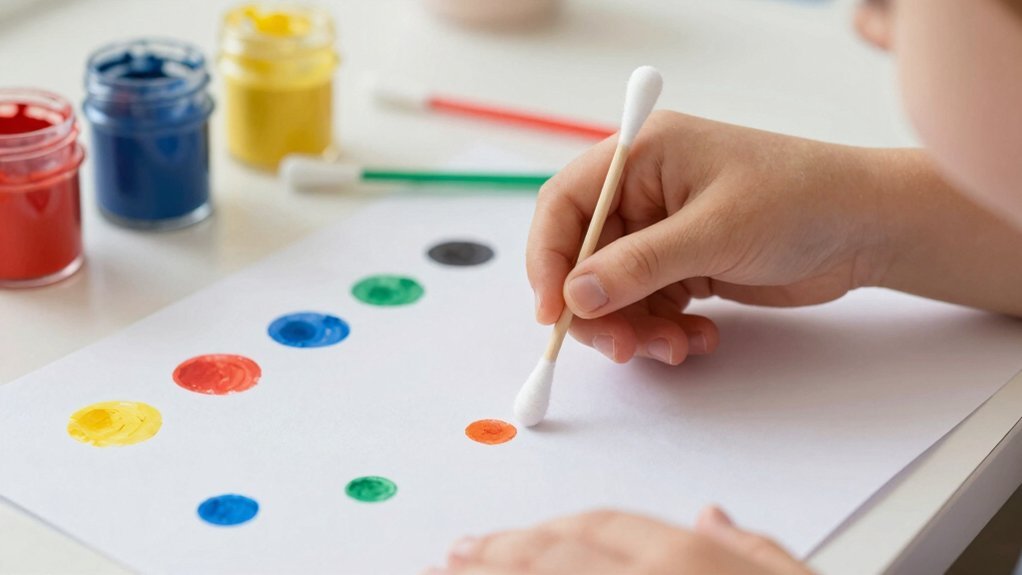
You’ll notice how each tiny Q‑Tip dot forces your fingers to move with deliberate control, sharpening fine‑ motor precision.
The tactile feel of the tip combined with the visual path of the dots creates a sensory‑guided coordination that trains your hand‑eye link.
Repeating the strokes on reusable tracing sheets builds a steadier grip and prepares you for smoother writing.
Incorporating activities that emphasize fine motor skills development aligns well with Montessori principles promoting hands-on, sensory-rich learning.
Fine‑Motor Precision
How can a simple Q‑Tip make your finger muscles sharper? You’ll see fine motor skills sharpen as you guide the tip through dotting patterns that demand pincer grasp control. Start with pre‑writing lines—vertical, horizontal, circles—then trace them with a Q‑Tip, stopping precisely at each dot. This practice hones grip precision and hand‑eye coordination, forcing you to start and stop at exact stroke junctions. Use laminated tracing sheets and dry‑erase markers for endless repetition without waste. Begin with large, spaced dots, then tighten the intervals to challenge your pincer grasp and finger control. As you progress, you’ll notice greater handwriting readiness, because each controlled stroke builds the endurance and accuracy needed for confident writing. Incorporating child-size tools designed for small hands can further enhance fine motor development through engaging, hands-on activities.
Sensory‑Guided Coordination
Sensory‑guided coordination turns a simple Q‑Tip into a precision tool, letting you paint tiny dots along pre‑drawn shapes or lines. You’ll notice how each dot‑to‑dot stroke sharpens fine motor skills, forcing your fingers to work independently and gently. As you press lightly, you improve hand‑eye coordination, which carries over to pencil grasp during pre‑writing activities. The Q‑Tip’s soft tip teaches you to control pressure, preventing smears and encouraging steadier lines. When you later switch to a pencil, the same deliberate finger actions translate into a more confident grip, easing handwriting practice. Repeating these sensory‑guided coordination drills builds a solid foundation, so each subsequent writing task feels smoother and more accurate. Using tools designed for fine motor challenges can further support development by providing ergonomically appropriate grips and tactile feedback.
Build Pincer Grip Through Bead Lacing and Clothespin Games
You’ll notice that larger beads and wide holes let you practice smooth, controlled motions while gradually sharpening precision.
Switching to clothespins forces you to grip tighter and coordinate both hands, building the strength needed for pencil control.
Together, these activities boost your pincer grasp and keep kids engaged with color and texture.
Choosing activities that incorporate durable materials like wood and natural fibers can enhance learning while teaching care and maintenance skills related to material durability.
Size Lacing Benefits
Bead lacing and clothespin games sharpen your pincer grip by forcing each finger to work together on small, precise targets. Size lacing trains fine motor control as you thread beads of decreasing diameter onto thin strings, demanding that each fingertip isolate its movement. The gradual shift from large holes to tiny openings builds hand strength and dexterity, forcing your thumb and index finger to coordinate tighter pinches. As you alternate hands, bilateral coordination improves, stabilizing the non‑dominant hand while the dominant one guides the lace. Varying bead colors, textures, and sizes adds tactile feedback, sharpening proprioception and reinforcing a reliable pincer grasp. Consistent practice turns these micro‑tasks into a solid foundation for writing readiness. Incorporating role play costumes, such as those promoting imaginative play in children, can further enhance fine motor skills through cooperative dressing and manipulation of costume details.
Clothespin Grip Challenges
After mastering the gradual shrinkage of bead holes, you can boost your pincer grip further with clothespin challenges. Grab a clothespin, pinch it between thumb and forefinger, and press it onto a board or string; this builds clothespin grip and pincer grasp while strengthening fine motor muscles. Switch hands every few seconds to develop bilateral coordination and hand strength. Increase difficulty by using smaller openings or adding a second pin, then pair each pinning action with a letter or shape to reinforce letter formation. Alternate between bead lacing and clothespin games so the child experiences varied tactile feedback, promoting continuous motor development. Keep sessions short, lively, and progressively demanding to sustain engagement and skill growth.
Create Sensory Letters in Sand, Shaving Cream, or Finger‑Paint
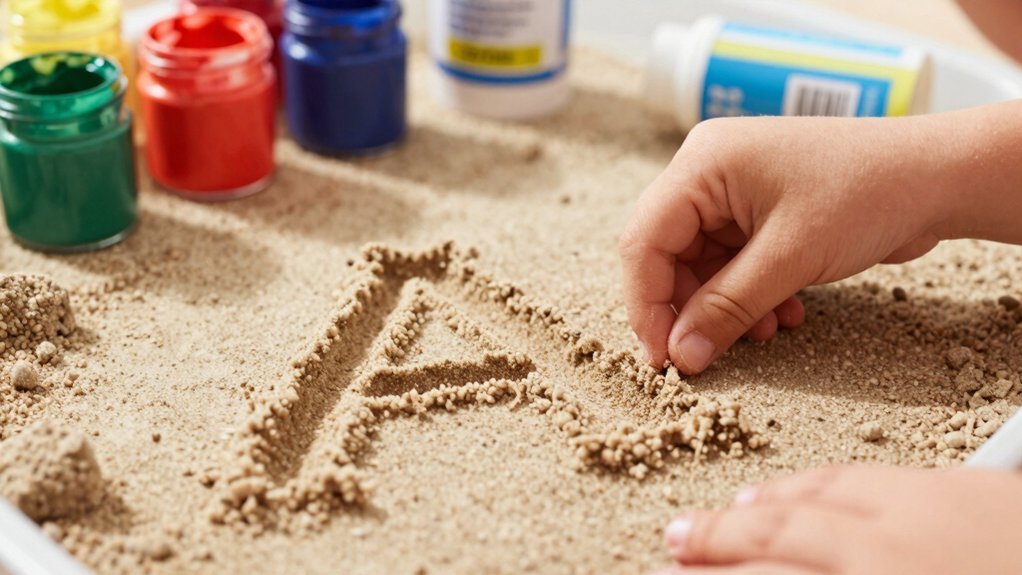
When you spread sand, shaving cream, or finger‑paint across a tray, you can guide kids to trace each letter’s shape, feeling the start point, direction, and curves as they move their fingers. The tactile feel of texture media reinforces fine motor planning and motor memory, while the soft surface lets them erase without frustration. Pair each sensory letters session with pre‑writing strokes—vertical lines, horizontal lines, circles—to bridge to pencil grip. Short, purposeful bursts keep engagement high and support letter formation.
| Material | Tip |
|---|---|
| Sand | Use a flat tray; sprinkle lightly for easy tracing. |
| Shaving cream | Keep it cool; kids can smooth it out with a fingertip. |
| Finger‑paint | Mix with a little water for a smooth, spreadable texture. |
Form Simple Letters Using Mini Marshmallows and Toothpicks
Mini marshmallows and toothpicks turn pre‑writing practice into a hands‑on puzzle: you place a marshmallow at the start of a stroke, snap a toothpick to it, and guide the stick to the next marshmallow, creating straight, curved, or diagonal lines that outline simple letters. You begin with vertical and horizontal lines, then add circles, arranging marshmallow letters at each intersection. As you connect the dots, you follow proper stroke order, reinforcing letter formation while your pincer grasp strengthens. The tactile feedback of snapping a toothpick engages fine motor control and encourages whole‑hand coordination. Once you master a few shapes, you’ll build full alphabet letters, each step cementing the pre‑writing foundation needed for confident handwriting.
Trace Letters on Fabric or Skin for Whole‑Body Hand‑Movement Practice
Ever wondered how moving your whole arm can sharpen your handwriting? Start with tracing letters on fabric or skin, turning pre‑writing into a whole‑body movement workout. Choose body‑safe materials—washable markers, chalk, or skin‑safe crayons—so you can erase and repeat without irritation. Lay a printed outline or stencil on a shirt, pillowcase, or forearm, then press lightly, guiding your arm, shoulder, and fingers through each stroke. The broad pressure builds motor skills and reinforces letter formation, while the tactile feedback cues you toward correct direction. As you grow comfortable, shrink the outlines to transition smoothly from large, arm‑driven motions to finer pencil control, keeping practice fresh and fatigue‑free.
Frequently Asked Questions
Do Children Need Special Grips for These Activities?
You don’t need special grips for most activities; just guarantee the tools fit comfortably in your child’s hands. If they struggle, try ergonomic pencils or adaptive holders, but many succeed with standard equipment.
How Often Should Parents Repeat These Sensory Exercises?
You should repeat the sensory exercises daily, aiming for short sessions of five to ten minutes each. Consistency reinforces neural pathways, and frequent practice helps your child develop fine‑motor skills faster.
Can These Activities Be Adapted for Children With Motor Delays?
Yes, you can adapt them by simplifying grips, using larger, textured tools, and allowing extra time. Offer guided support, break tasks into tiny steps, and celebrate each tiny success to keep motivation high.
What Age Range Benefits Most From Each Listed Activity?
You’ll see toddlers (2‑4) thriving on tactile tracing, preschoolers (4‑5) excelling with sand‑letter formation, early elementary (5‑7) benefiting from magnetic letters, and older kids (7‑9) mastering fine‑motor puzzles.
Are There Low‑Cost Alternatives to the Suggested Materials?
You can use recycled cardboard, old magazines, and inexpensive markers instead of pricey kits. Household items like jars, clothespins, and printable worksheets work just as well, keeping costs minimal while staying effective.




Leave a Reply