Pick a lightweight, non‑slip tray about 12‑14 inches long and 8‑10 inches wide, with smooth edges and a clear, eye‑level surface so your child can grab, use, and return materials without help. Fill it with a few organized compartments for sensory, letter, counting, or fine‑motor items, and teach a simple two‑hand grip and “pick‑up‑work‑return” routine. Rotate the tray’s contents weekly to keep curiosity high and independence growing—more tips await if you keep going.
Establish Why Montessori Trays Foster Independent Learning
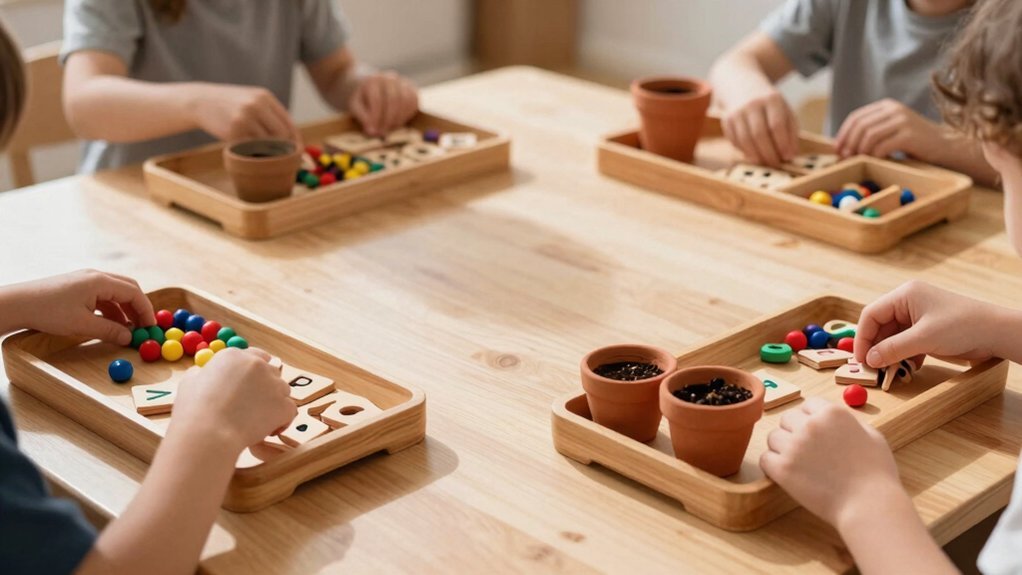
When you set up a Montessori tray, you give your child a tidy, eye‑level workspace where everything they need is within reach, so they can pick up and put away materials without waiting for an adult. This layout instantly sparks independence because the child sees all tools at a glance and can choose what to use next. By isolating a single activity, the tray cuts distractions, letting the child stay focused and work through a task from start to finish. A clear left‑to‑right arrangement shows the sequence, so they learn to follow steps and return items in order.
Rotating the tray with fresh, age‑appropriate challenges keeps motivation high while preserving the predictable, self‑serve system that builds confidence and autonomous learning. Using organizers like the ECR4Kids TrendiTot Kids Wardrobe ensures storage solutions are child-friendly and safe, reinforcing independent habits.
Select the Ideal Tray Size and Materials for Your Home
You’ll want a tray that fits comfortably in a child’s hands, so pick dimensions around a shoebox or small basket and a lightweight material like wood or sturdy plastic. Choose models with clear compartments, smooth edges, and a non‑slip bottom to keep items organized and stable. This combination lets kids transport and set up their work independently without frustration. For ensuring safety and stability, consider options with non-slip features as highlighted in various Montessori step stool designs.
Optimal Tray Dimensions
Looking for a tray that fits both your child’s hands and your home’s space? Choose a lightweight, practical life tray that’s easy to lift and carry. Aim for a length of 12–14 inches and a width of 8–10 inches; this size offers enough surface for activities while staying compact on shelves or tables. Keep the depth shallow—about 1–2 inches—so your child can see all materials at a glance and retrieve items independently. Opt for a smooth, durable surface that wipes clean and resists stains from beans, water beads, or paint. If you need to store multiple trays, pick nesting or stackable designs with a lip edge or small handles to prevent spillage and make transport safe. This balanced dimension supports focused, autonomous play without overwhelming your space. Select materials that are non-toxic and safe for young children, similar to those used in child-size cleaning tools, to ensure safety and durability.
Material Selection Guide
A handful of lightweight, child‑friendly materials—such as smooth‑finished wood, high‑density plastic, or laminated MDF—provide the durability and safety you need while keeping the tray easy to lift and carry. Choose a size that fits a small table or shelf at child height, and add rounded edges and smooth surfaces to prevent splinters or cuts. Include compartments or baskets for sorting, counting, and fine‑motor tasks, and opt for clear, washable finishes or laminated visuals that survive frequent handling. An open left‑to‑right layout lets kids independently select, use, and return items without adult prompts. Montessori-inspired designs often incorporate built-in shelves and hooks to support organizational skills and independent play.
| Material | Key Benefits |
|---|---|
| Smooth‑finished wood | Natural feel, sturdy, easy to sand |
| High‑density plastic | Lightweight, washable, impact‑resistant |
| Laminated MDF | Smooth surface, printable visuals, affordable |
| Bamboo | Eco‑friendly, light, naturally antimicrobial |
Create a One‑Time Prep System for Repeating Activities
When you set up a one‑time prep system, you’ll gather a few lightweight trays, baskets, and containers that can be arranged once and then reused week after week, minimizing daily planning and keeping the focus on learning rather than setup.
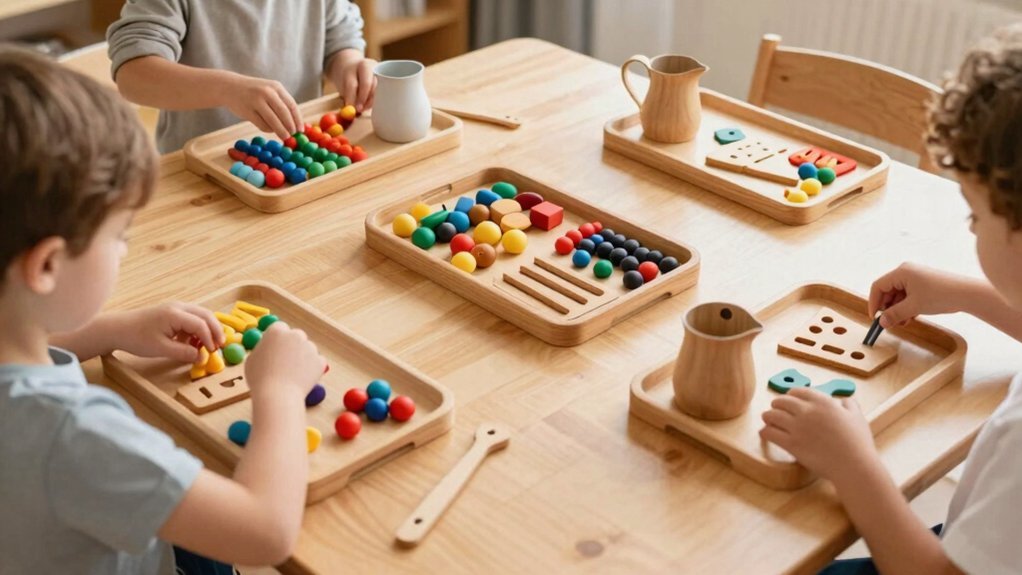
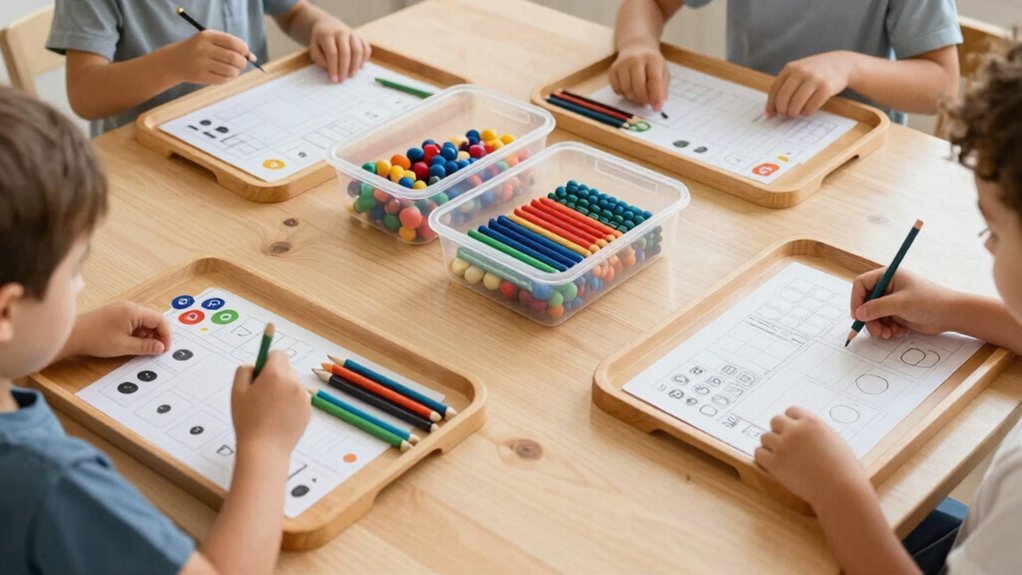
Choose trays that slide easily onto a low shelf so your child can pull them out without help. Designate a sensory tray, a current‑letter card tray, and optional trays for counting, matching, and fine‑motor practice.
Choose low‑shelf trays that slide out easily; assign sensory, letter, counting, matching, and fine‑motor stations.
Store extra pieces in open, child‑level cardboard or plastic shoeboxes placed near the work area for instant access. Keep the layout consistent: each tray stays in the same spot, and weekly rotation simply swaps the contents, not the structure.
This portable, quick‑reassembly system lets you move the whole setup from the living‑room to a quiet corner, fostering independent use without constant supervision.
For optimal safety and accessibility, consider furniture designed with low step-in access to support your child’s independent interaction with learning materials.
Organize Tray Contents to Boost Focus and Order
If you line the trays left‑to‑right at your child’s eye level, you’ll mirror the natural reading direction and make it easy for them to track the sequence of activities. Place each activity in a single, clearly labeled tray so the child can focus on one task without cognitive overload. Keep the core setup—materials, tools, and the tray itself—consistent across activities; this organization builds predictability and speeds up the return process. Use low, open shelves or a living‑room shelf so the trays are always within reach, encouraging independent selection. Rotate the trays regularly to keep interest high while preserving order, and make sure completed tasks are promptly returned to their designated spots.
- Label each tray with a simple icon or word.
- Include a small container for loose supplies.
- Use a color‑coded system for different subjects.
Show Kids How to Carry, Use, and Return Trays Safely

You’ll teach them to grip the handles with both hands, keep the tray level, and lift using their legs to avoid spills.
Then you’ll set up a simple routine—pick up, carry to the workspace, work, and place the tray back neatly on its spot.
Visual cues on the tray and shelf will guide them to return it correctly every time.
Choosing trays made from water-resistant materials will ensure easy cleaning and durability during frequent use.
Carry Tray Properly
Because carrying a tray is a core Montessori skill, you’ll want to show kids how to hold it level with both hands, keep the load stable, and move smoothly to prevent spills. Explain that the tray’s lightweight design and ergonomic handles let them practice strength and coordination without strain. Demonstrate the two‑hand grip, reminding them to keep the surface parallel to the floor and to walk slowly, adjusting their pace to maintain balance. When they feel the tray wobble, pause, re‑center the items, and continue. Consistent practice builds spatial awareness and confidence, turning a simple chore into a purposeful learning moment.
- Grip with both hands, elbows close to the body.
- Keep the tray level; tilt only when setting down.
- Walk at a steady pace, avoiding sudden turns.
Incorporating self-correcting fittings into tray setups can further support independent learning by guiding children towards accurate assembly and practice.
Return Tray Neatly
After mastering the two‑hand grip and keeping the tray level while moving, the next step is to return it neatly. You’ll guide kids to place the tray on its designated spot, label visible so they know exactly where it belongs. Teach them a simple one‑voice routine—“I’m done, I’ll return the tray”—so the transition becomes automatic.
Before setting it down, have them scan the surface for missing pieces, wipe any crumbs, and ensure everything’s tidy.
Consistent practice builds confidence; they’ll learn to carry, use, and return trays without supervision. This routine reduces clutter, prevents spills, and reinforces independent responsibility, turning cleanup into a quick, predictable part of each activity.
Rotate and Refresh Trays to Keep Motivation High
Ever wonder how a simple tray swap can reignite a child’s curiosity? You can keep motivation high by planning a weekly rotation that mixes high‑utility activities with fresh,. Use lightweight baskets or cookie sheets so swapping feels effortless, and keep the trays at child height for spontaneous exploration. Align the rotation pattern with your week’s theme or study cycle, so the child sees predictable progress while still discovering new tools. When a tray proves especially useful, let it stay longer to reinforce mastery, then introduce a new one for variety.
Swap trays weekly, keeping them child‑height, lightweight, and aligned with themes to spark curiosity.
- Schedule rotation alongside weekly learning themes.
- Choose portable, child‑level trays for easy swapping.
- Balance new introductions with longer use of proven‑use trays.
Frequently Asked Questions
What Are the 5 C’s of Learning?
You’re looking at the 5 C’s: Curiosity sparks exploration, Confidence builds independence, Concentration sustains focus, Collaboration encourages teamwork, and Communication develops sharing and language skills.
What Are Examples of Independent Strategies?
You can try goal‑setting, self‑questioning, peer‑teaching, reflective journaling, and using checklists; each lets you choose tasks, monitor progress, adjust strategies, and celebrate achievements without adult prompting.
What Are the 7 Strategies That Promote Learning?
You’ll use choice, modeling, prompting, feedback, reflection, scaffolding, and self‑assessment. Each strategy fuels autonomy, guides progress, and reinforces mastery while you explore tasks independently.
How to Use Montessori Trays?
You set up a low shelf with light trays, label each picture or word, place a sensory tray and a letter‑card tray, then let your child choose, work, and return items independently.


Leave a Reply